Sikku Kolam -26
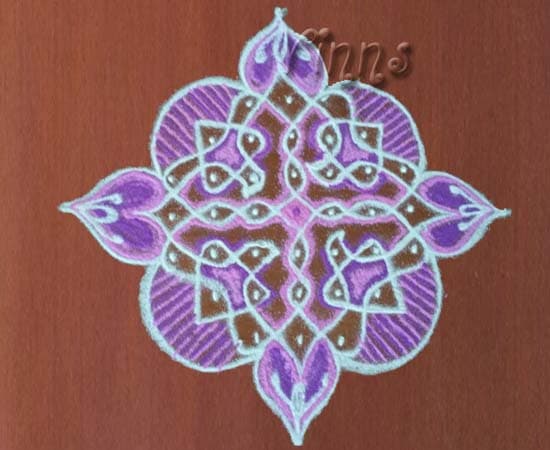
For the very first time I have used wet kaavi for a kolam. When I was young I have seen red earth soil used as kaavi at my Grandmas village. The red soil was sieved and stored in a container.
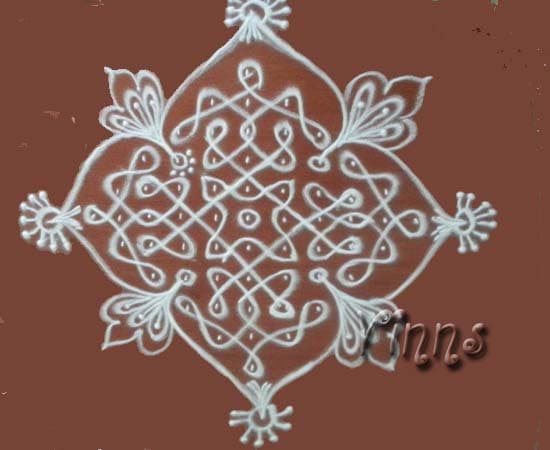
For the very first time I have used wet kaavi for a kolam. When I was young I have seen red earth soil used as kaavi at my Grandmas village. The red soil was sieved and stored in a container. Whenever needed a small quantity was transfered to a box and added with water. With a piece of cloth my mom added the kaavi as a border to the kolam. But now ready made kaavi powder is available in the market, no doubt a chemical compound which stains the hand. Dot Count: 19, 17x2, 13x2, 9x2, 5x2,1
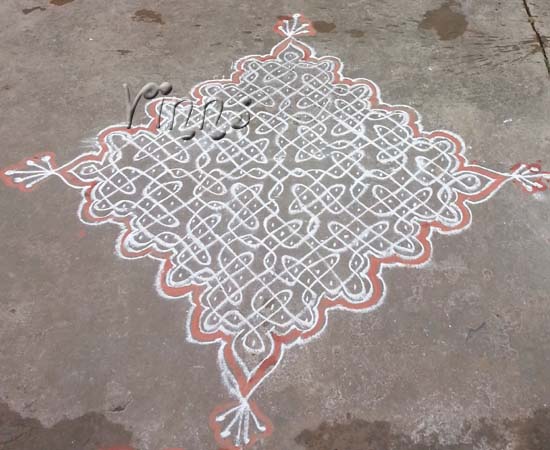
Lay the 17×2 Straight Grid
Sprinkle a few drops of water on the threshold. Place the 17×2 Straight Grid (Ner Pulli) with even spacing using white rice flour or chalk, ensuring interlaced dots sit nested diagonally between adjacent rows.
Start with the Central Core Loop
Locate the central anchor dots. Loop a fluid, continuous curve encircling the inner dots to establish the foundation of the design. Beginning at the center ensures balanced 4-fold symmetry.
Weave Around the Outer Dots
Pinch dry rice powder between your thumb and forefinger. Guide continuous, flowing waves threading between and around the perimeter dots without lifting your fingers or stopping mid-turn.
Connect the Final Loops & Add Kaavi
Connect the outer curves smoothly back into the starting loop so all lines merge into complete, closed loops. Frame the outer corners with traditional red Kaavi (red ochre) border for clean contrast.
Related Traditional Patterns
Similar geometries, symmetry types, and festive floor art styles