Sikku Kolam - 35
I like to draw kolams on a wet floor as the kolapodi sets firmly on the surface without any smears. After drawing I usually wait for the floor to dry up to capture a photo. While waiting for a final c.
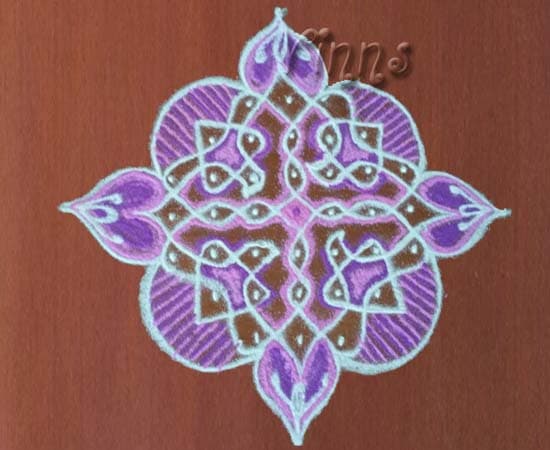
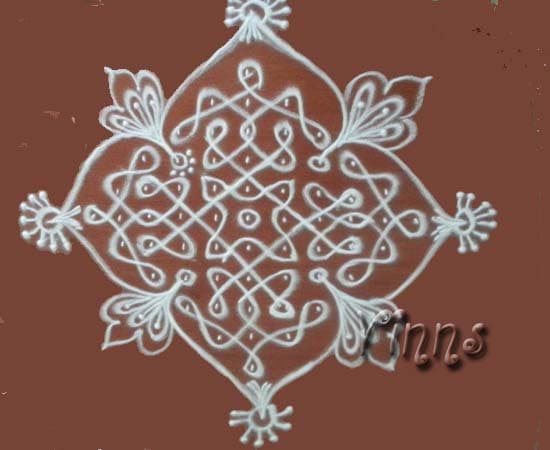
I like to draw kolams on a wet floor as the kolapodi sets firmly on the surface without any smears. After drawing I usually wait for the floor to dry up to capture a photo. While waiting for a final click, some guests unintentionally stepped on my creation, imprinting their footsteps with smudges around. The tag line is that this kolam had many hits. An easy one to execute. I have added border and kaavi for enhancement.
Dot count: 16x4-12x2-8x2-4x2 Straight pattern
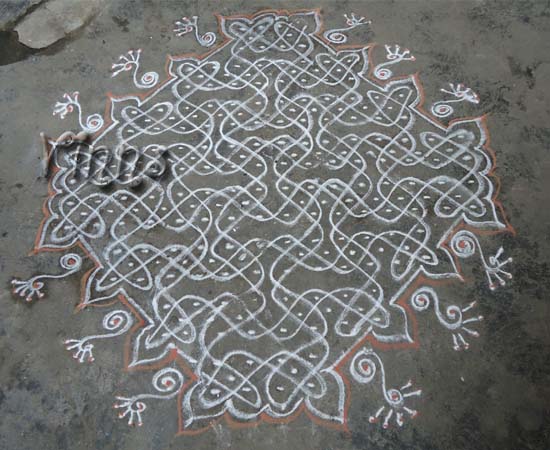
Lay the 16×4 Straight Grid
Sprinkle a few drops of water on the threshold. Place the 16×4 Straight Grid (Ner Pulli) with even spacing using white rice flour or chalk, ensuring interlaced dots sit nested diagonally between adjacent rows.
Start with the Central Core Loop
Locate the central anchor dots. Loop a fluid, continuous curve encircling the inner dots to establish the foundation of the design. Beginning at the center ensures balanced 4-fold symmetry.
Weave Around the Outer Dots
Pinch dry rice powder between your thumb and forefinger. Guide continuous, flowing waves threading between and around the perimeter dots without lifting your fingers or stopping mid-turn.
Connect the Final Loops & Add Kaavi
Connect the outer curves smoothly back into the starting loop so all lines merge into complete, closed loops. Frame the outer corners with traditional red Kaavi (red ochre) border for clean contrast.
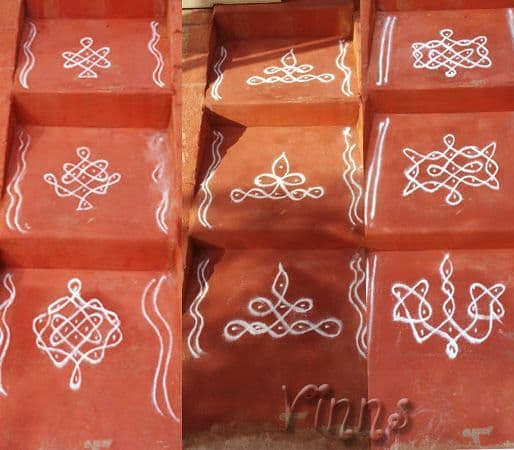
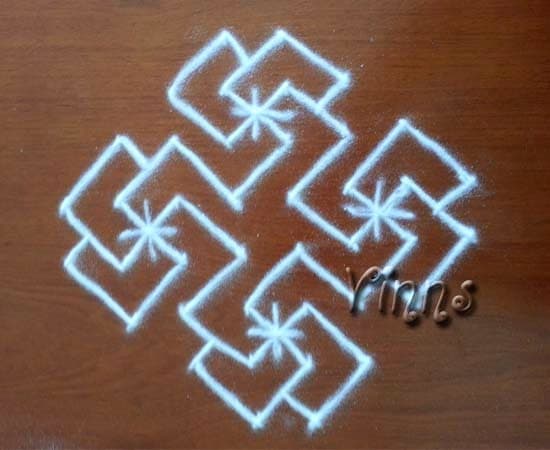
Related Traditional Patterns
Similar geometries, symmetry types, and festive floor art styles